
Last updated August 25, 2026
Free visual inspection and a written scope of work before any mitigation begins - photos, moisture readings, and drying logs go in your claim file
The scope we write is the scope we bill. Anything new gets shown to you, in writing, before we touch it.

Storm responseSewage cleanup
 Before
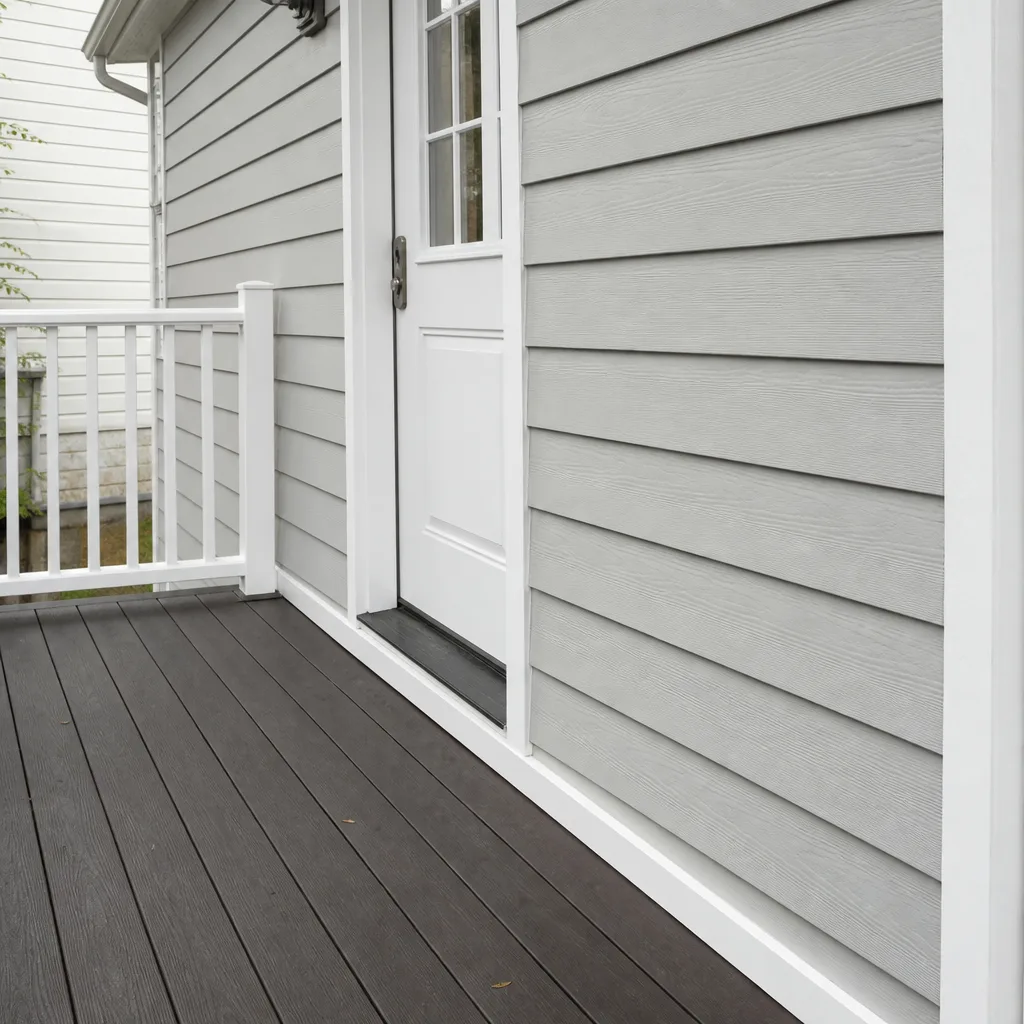 After
After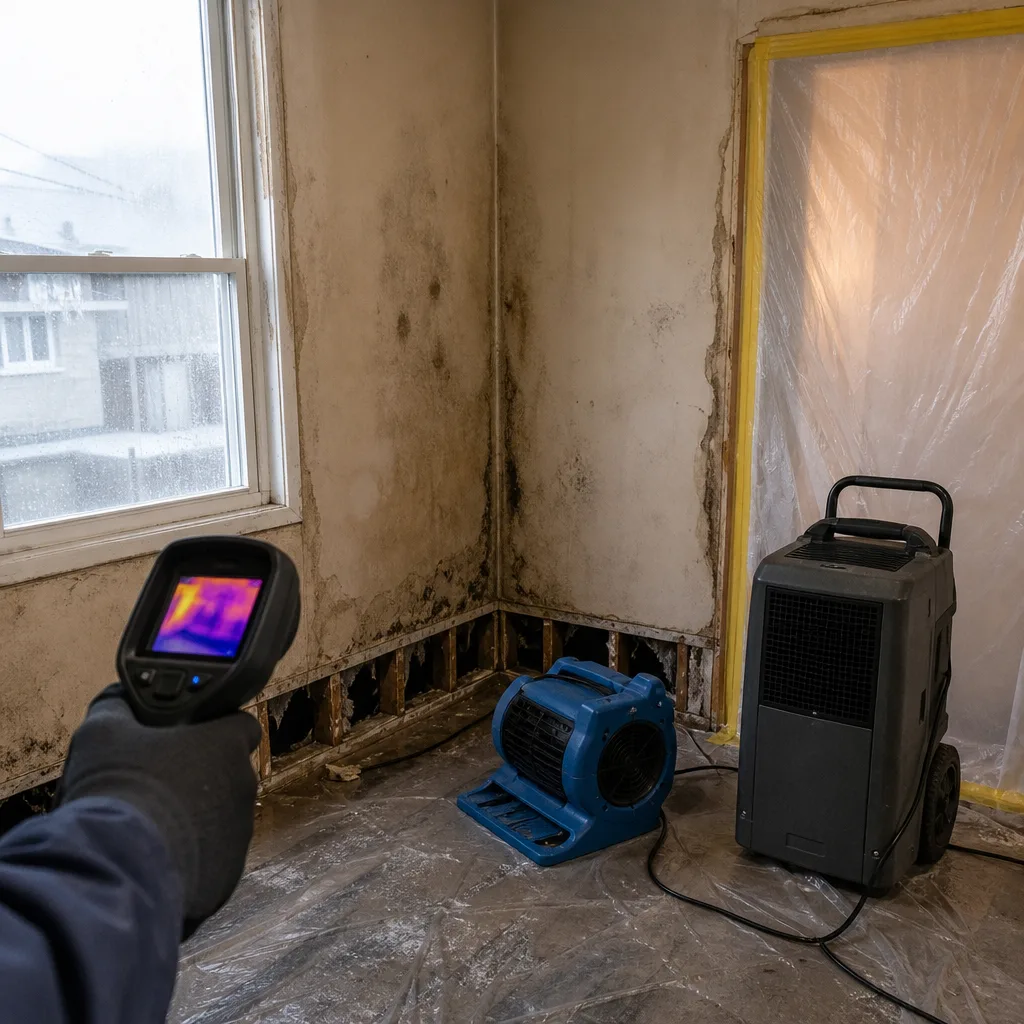 Before
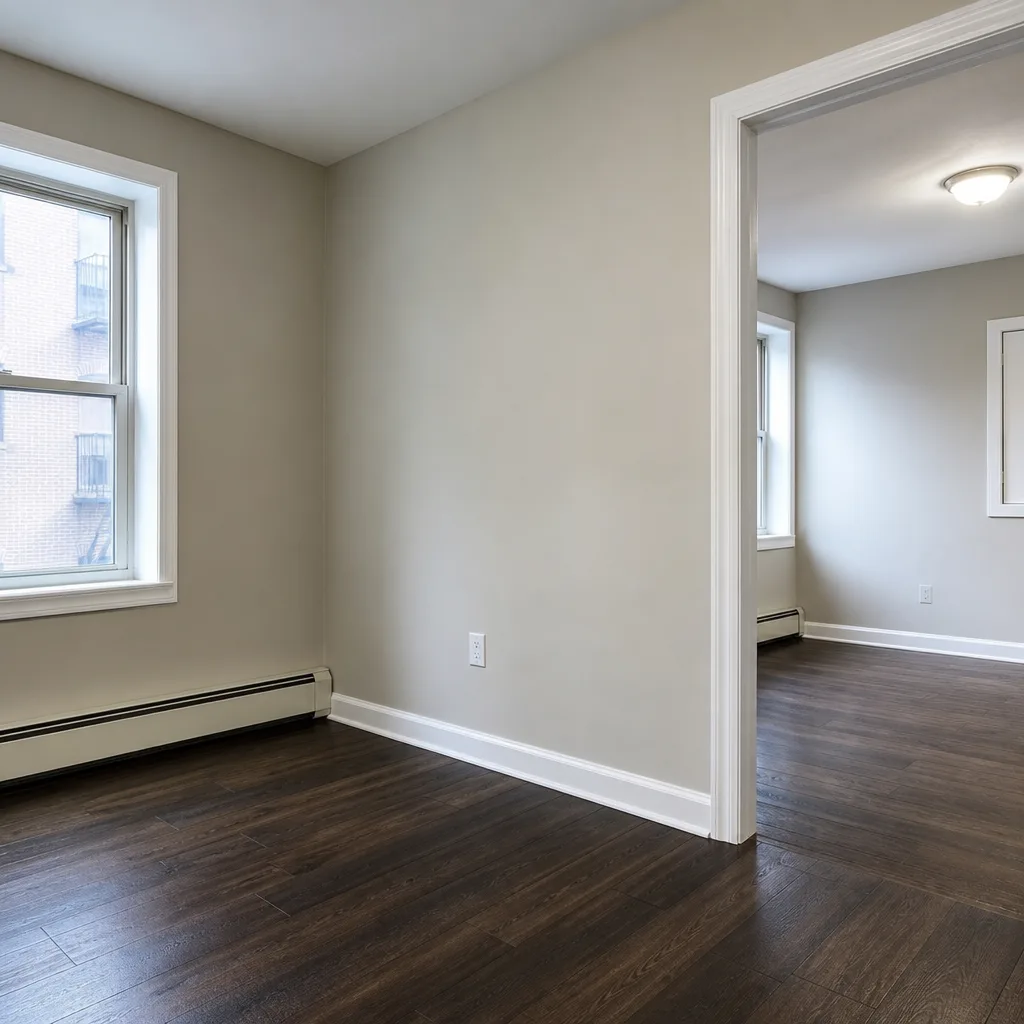 After
After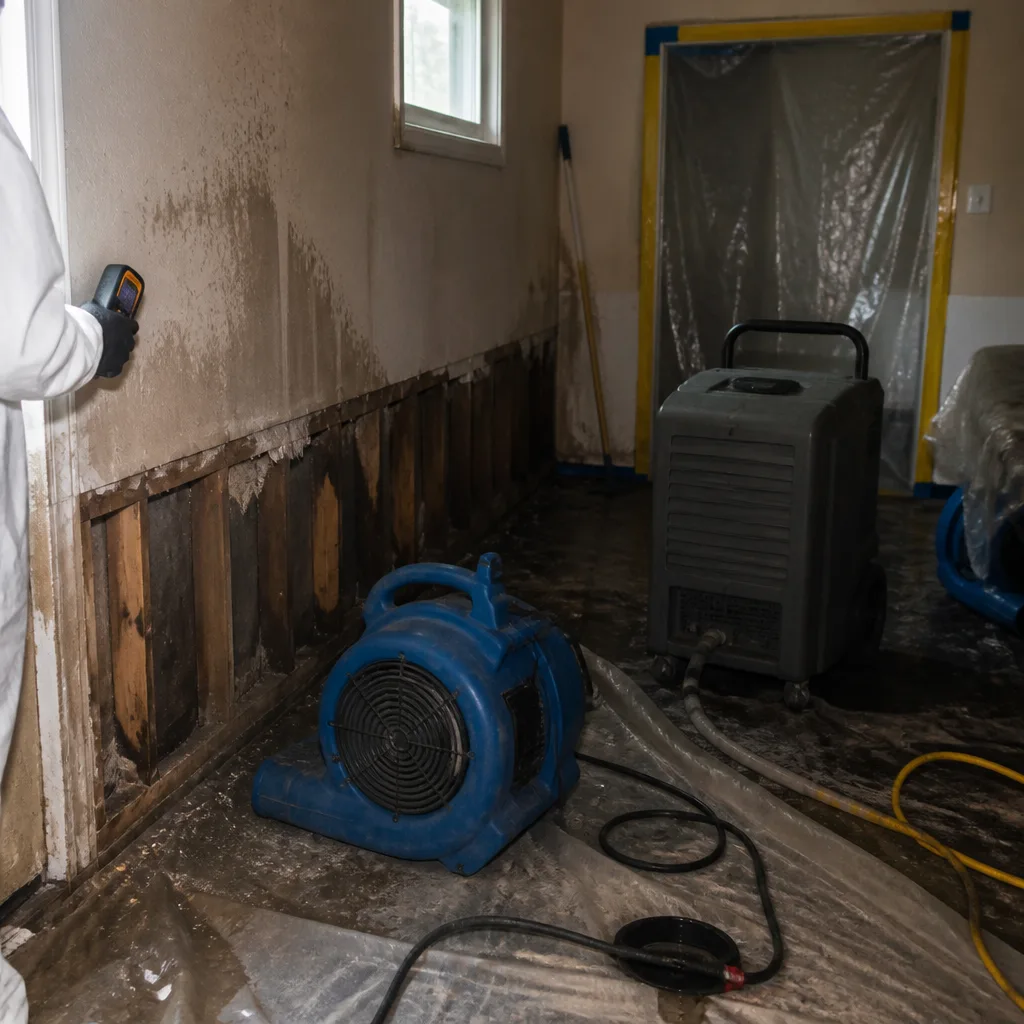 Before
 After
AfterDIY vs Professional Damage Restoration: The Flushing Homeowner’s Decision Guide
Here’s a number that surprises most Flushing homeowners: according to insurance industry data, roughly 40% of DIY water damage repairs fail within the first year. The homeowner dries the visible puddle, paints over the stain, and six months later the drywall is soft, the baseboard is swelling, and mold has moved into the wall cavity. In over four decades of restoration work, we’ve learned that the line the water left on the wall is only half the story. What you can’t see underneath is where the real damage lives. This guide will walk you through exactly which jobs a careful Flushing homeowner can handle alone, which ones require professional equipment, and how to tell the difference before you spend money in the wrong direction.
Quick Answer
DIY damage restoration is appropriate for small, contained water spills under about 10 square feet with no wall or floor penetration, but professional restoration is necessary when water has soaked into drywall, subfloor, or insulation, when sewage or contaminated water is involved, or when any mold growth exceeds about 10 square feet. In Flushing, where pre-war housing stock and humid summers create conditions that hide moisture for weeks, professional-grade drying equipment and moisture meters typically catch problems that a shop vac and box fan will miss.
Table of Contents
- The Real Cost of Getting It Wrong
- What Flushing Homes Are Up Against
- Jobs a Careful Homeowner Can Handle
- Jobs That Need Professional Equipment
- The Mold Line: Where DIY Stops
- Reading a Moisture Map: What Pros See
- The Insurance Factor
- Cost Comparison: DIY vs Professional
The Real Cost of Getting It Wrong
The math on DIY restoration looks good on paper. A dehumidifier rental runs about $40 a day. A box fan costs $30. A gallon of Kilz primer runs $35. Compare that to a professional restoration bill and the do-it-yourself route seems like the obvious choice.
The problem is that the paper math ignores what happens when the job doesn’t work.
Here’s a sequence we’ve walked into more times than we can count in Flushing: a homeowner discovers a slow leak under a bathroom sink. They soak up the water with towels, point a fan at the cabinet, and call it done. Three months later the kitchen ceiling below shows a brown stain. By the time we open the ceiling, the subfloor has been wet for 90 days. Mold has colonized the joist cavities. What would have been a $600 extraction and drying job is now a $6,000 mold remediation with drywall replacement.
Water moves in ways homeowners don’t expect. It travels along joists, wicks up drywall, and pools in wall cavities where no fan will ever reach it. The visible puddle is rarely the whole problem.
But the reverse is also true. Some jobs genuinely don’t need a professional crew. If you spill a mop bucket on a tile floor and wipe it up within minutes, calling a restoration company would be wasteful. The skill is knowing where that line sits.
That’s what this guide is for.
What Flushing Homes Are Up Against
Flushing has a housing stock problem that most homeowners don’t think about until water is involved.
The neighborhood is a mix of pre-war brick row houses, 1950s and 60s frame construction, and newer multi-family buildings. The older stock, which makes up a large share of Flushing’s single-family homes, was built with materials that behave very differently when wet than modern construction does. Plaster walls wick moisture slowly and hide it well. Solid wood subfloors, common in pre-war buildings, absorb water deep into the grain and release it even more slowly. Old-growth framing lumber is denser than today’s fast-grown pine, which means it holds moisture longer and dries more reluctantly.
Flushing’s climate adds another layer. Summers here are humid. A damp wall cavity in August will not air-dry on its own, no matter how many windows you open. The moisture just sits there, feeding whatever spores happen to be present. Winter brings frozen pipes to unheated basements and garages all over the neighborhood. We’ve responded to burst pipe calls on Colden Street, Bowne Street, and throughout Kissena Park in January years, and the damage pattern is always the same: water runs down inside the wall, soaks the insulation, and settles in the sill plate where the house meets the foundation.
None of this means Flushing homes are fragile. It means the margin for error on a DIY job is thinner here than in a newer build in the suburbs.
Jobs a Careful Homeowner Can Handle
There are damage situations where a homeowner with basic tools and common sense can do the job right. The key is being honest about the size of the job and the reach of the water.
Here are the situations where DIY is reasonable:
- Small, clean-water spills on non-porous surfaces. A knocked-over glass of water on a tile floor. A puddle from a dehumidifier that overflowed onto vinyl. If you can wipe it up with two or three towels and the surface is sealed, you’re done.
- Spills on carpet with no pad penetration. If you catch a spill immediately, before it soaks through to the pad, towels and a fan can handle it. The test: press a white paper towel into the carpet. If it comes back dry or just barely damp, you’re in DIY territory. If it comes back wet, the pad is involved.
- Small appliance leaks caught immediately. A washing machine hose that fails while you’re standing in the laundry room. If you shut the water off within minutes and the floor is concrete, mop it up and run a fan. Keep an eye on the baseboards for a week.
- Condensation on windows and pipes. This is a humidity issue, not a water damage issue. A dehumidifier solves it. Wipe up the moisture and address the humidity source.
The common thread: in every one of these situations, you know exactly where the water went, you caught it quickly, and the surface it touched doesn’t absorb water deeply.
What you’re really deciding with DIY is whether you can see the full extent of the damage. If you can, the job is within reach.
Jobs That Need Professional Equipment
Here’s the hard truth about water damage: once water has soaked into a porous material, no amount of household equipment will dry it completely. Not a shop vac. Not a box fan. Not a rental dehumidifier from the hardware store running for a week.
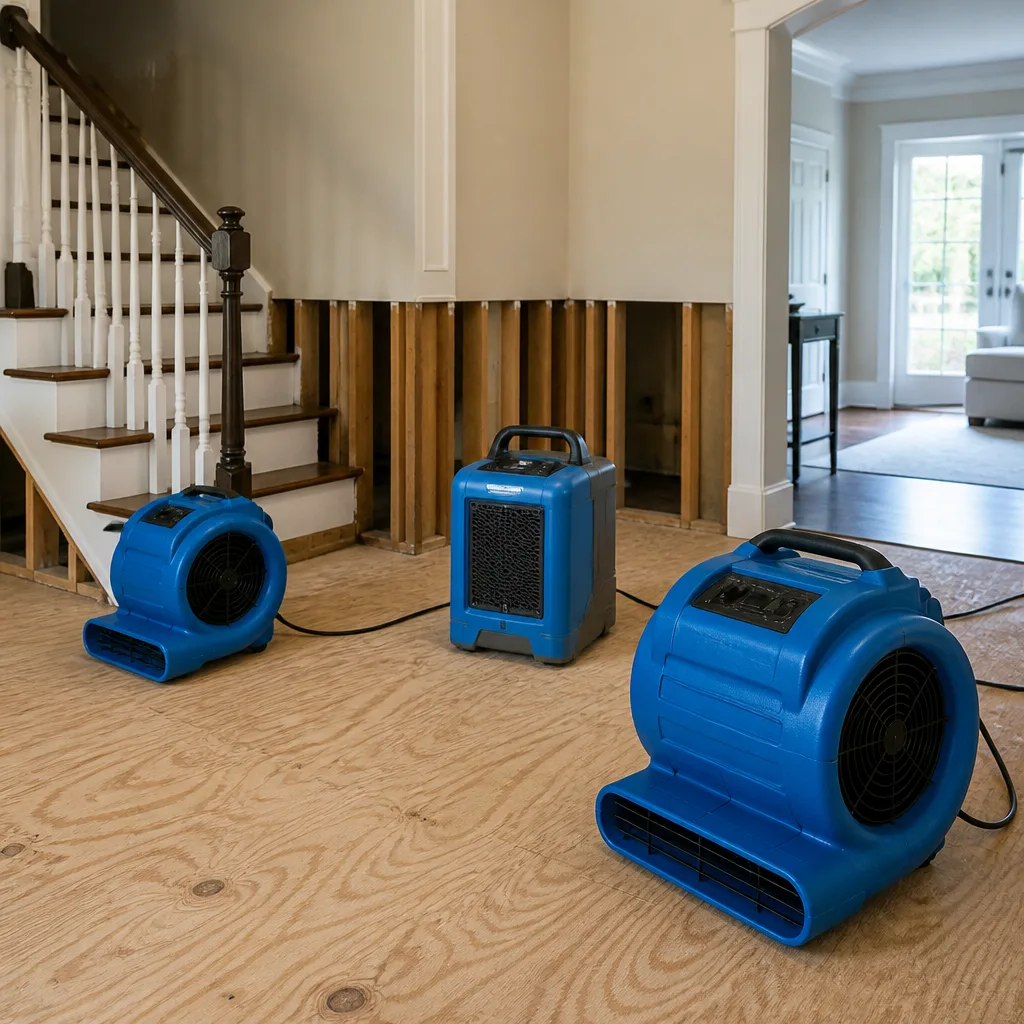
The equipment professional restoration crews use is engineered for extraction and drying at a level household tools can’t approach. An XPOWER axial air mover pushes over 2,000 cubic feet per minute. A professional-grade Dri-Eaz dehumidifier pulls several gallons of water out of the air per day and is designed to run continuously for weeks. An Injectidry system forces air into wall cavities and under cabinets where no floor fan can reach. These aren’t better versions of household tools; they’re a different category of equipment entirely.
Here’s when professional equipment is necessary:
- Water that has touched drywall. Drywall is a sponge. Once the bottom edge gets wet, water wicks upward through the gypsum core. You can dry the face of the drywall and still have a wet core, which is where mold starts. Professionals cut out the wet portion or dry it with cavity injection.
- Water under flooring. Whether it’s hardwood, laminate, or tile, water trapped under flooring will not dry on its own. It will rot the subfloor, warp the flooring, and feed mold. Hardwood can sometimes be saved with professional drying mats. Laminate usually can’t be saved once it’s soaked. Tile sits on a mortar bed or backer board that absorbs water and holds it against the subfloor.
- Water in wall cavities. If water ran down inside a wall, the insulation is wet and the framing is wet. This is one of the most common scenarios after a burst pipe in a Flushing home, and it’s also one of the most commonly missed by DIY attempts. The visible signs are often subtle: a soft spot near the baseboard, a slight discoloration, maybe a musty smell.
- Any amount of sewage or contaminated water. This isn’t a question of drying; it’s a question of sanitation. Sewage contains pathogens that require professional-grade antimicrobial treatments and proper disposal. Never attempt sewage cleanup yourself.
- Standing water over about a half inch. Deep standing water requires commercial extraction before drying can even begin. Professional truck-mounted or portable extraction units remove water at volumes a shop vac can’t match.
The rule of thumb: if water has gone somewhere you can’t see, the job is bigger than a homeowner can verify. And if you can’t verify the job is done, you can’t be certain it’s done right.
The Mold Line: Where DIY Stops
Mold is where the DIY conversation changes from a question of effectiveness to a question of health and safety.
The widely accepted standard in the restoration industry is that mold growth covering more than about 10 square feet should be handled by a professional. That’s roughly a three-foot by three-foot patch. Smaller spots can sometimes be cleaned by a homeowner wearing proper protection, but even that comes with caveats.
Here’s what homeowners need to understand about mold in a Flushing house:
First, mold is almost never just the visible patch. If you can see mold on a wall or ceiling, the odds are very high that more mold is growing inside the wall cavity, behind the baseboard, or under the flooring. Mold follows moisture, and moisture conditions that produce a visible patch usually exist across a broader area.
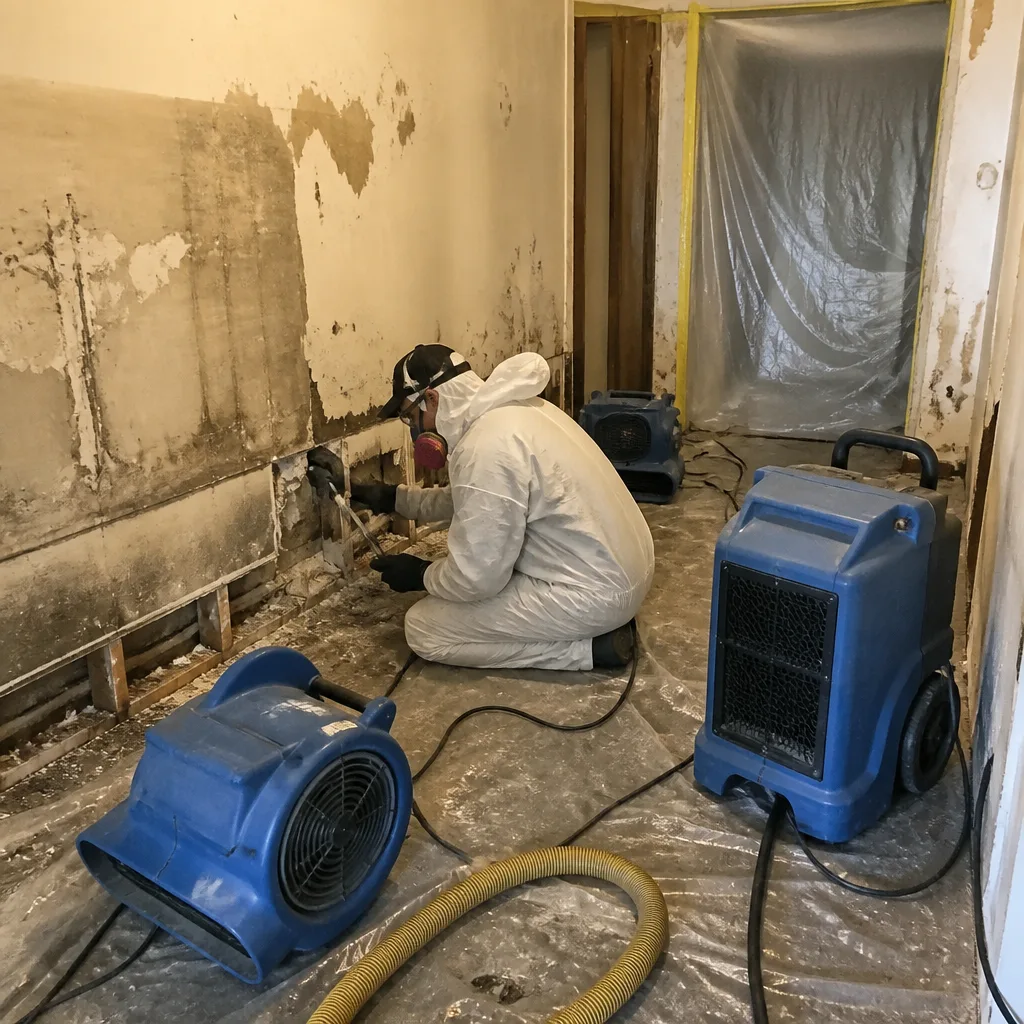
Second, disturbing mold without proper containment releases spores into the air. That’s how a small bathroom problem becomes a whole-house problem. Professional mold remediation in Flushing involves setting up negative air pressure containment so that spores released during the removal process are pulled outside instead of circulating through the house. That’s not something a homeowner can replicate with plastic sheeting and a box fan.
Third, the underlying moisture problem has to be solved or the mold will return. Mold remediation without addressing the moisture source is just postponing the problem. Professionals use moisture meters to map the full extent of the moisture problem before remediation begins, so the job is done once instead of twice.
Mold is also one of the few damage types where insurance coverage gets complicated. Many Flushing homeowners discover that their policy has specific mold remediation limits, which is a conversation worth having with an adjuster before work begins.
Reading a Moisture Map: What Pros See
This is the single biggest difference between a DIY job and a professional restoration, and it’s worth understanding because it explains why professional results hold up in a way that DIY repairs often don’t.
When a professional restoration crew arrives at a Flushing home, the first thing they do is not to start extracting water. The first thing they do is build a moisture map.
Here’s what that looks like:
- Visual assessment. The technician walks the affected area and notes visible damage: staining, warping, peeling paint, standing water, efflorescence on masonry.
- Moisture meter readings. Using a professional-grade moisture meter, the technician takes readings across the floor, walls, and ceiling, marking each reading on a diagram. This creates a visual map of exactly where moisture has traveled, including places that look completely dry to the naked eye.
- Thermal imaging (when needed). Infrared cameras detect temperature differences that indicate moisture behind walls and under floors. This is how professionals find water that would otherwise remain hidden.
- Reference readings. The technician takes baseline readings in a dry area of the house. Dry standard is typically reached when the affected area reads within a few percentage points of the baseline. This is a specific, measurable endpoint, not a guess.
- Drying plan. Based on the map, the technician positions air movers and dehumidifiers in a specific configuration to maximize airflow across wet surfaces and pull moisture out of the structure. The equipment placement is not random; it’s calculated based on the moisture map.
- Daily readings and log. Equipment runs 24/7, and the technician returns daily to take new readings, adjust equipment placement as needed, and document progress. The moisture log is handed to the homeowner and the insurance carrier at the end of the job.
Why does this matter for the DIY decision? Because a homeowner without a moisture meter is flying blind. You can dry a surface until it feels dry to the touch and still have a wet wall cavity or subfloor. The professional process turns “it feels dry” into “the numbers say it’s dry,” and that’s the difference between a repair that lasts and one that fails in six months.
This is also, frankly, why we built Floodline Restoration Co. around the Keystone Standard. The 90-Day Done Right Promise exists because a moisture log in the homeowner’s hands is a document, not a conversation. If something goes wrong after the job is done, there’s no debating what was measured and what was agreed to. It’s all written down.
The Insurance Factor
Insurance is the least understood part of the DIY vs professional decision, and it’s often the one that costs Flushing homeowners the most money.
The common assumption is that calling a restoration professional means paying out of pocket. That assumption is usually wrong. In most water damage, fire damage, and storm damage situations, the homeowner’s insurance policy covers professional restoration work, minus the deductible. Insurance carriers prefer professional restoration because professionally documented jobs are less likely to result in secondary damage claims down the line. A moisture log and written scope of work create a paper trail that protects both the homeowner and the carrier.
Here’s what DIY work does to your insurance position:
- DIY repairs can void coverage for secondary damage. If you attempt a repair yourself and the damage recurs because the repair was incomplete, many policies will treat the secondary damage as a maintenance issue rather than a covered loss. The carrier’s position is that the original damage was covered, and the recurrence was caused by inadequate repair.
- Without documentation, you have no claim. If mold appears three months after a DIY water damage repair, the insurance company will ask for documentation proving the original damage was fully addressed. Without moisture readings and a professional assessment, you don’t have that documentation.
- Professional restoration companies bill insurance directly. At Floodline Restoration Co., we handle the billing with the carrier directly. The homeowner never plays messenger between us and the adjuster. We document everything, share the moisture log and photos with the carrier, and agree on scope before work begins. The homeowner’s job is to call; our job is to handle the rest.
The insurance conversation also matters on the front end. Many Flushing homeowners assume their policy doesn’t cover something and never make the call. But coverage depends on the specific cause of loss, not on a homeowner’s interpretation of policy language. A burst pipe is typically covered. A sump pump failure may or may not be covered depending on whether the policy includes water backup coverage. A slow leak that’s been ongoing for months may be treated differently than a sudden burst. The only way to know is to involve the carrier and a restoration professional who knows how to document a claim properly.
Cost Comparison: DIY vs Professional
Talking about cost honestly matters. Right up front: professional restoration costs more than DIY in the short term, and no honest restoration company pretends otherwise. The question is what you’re buying with that money, and what DIY costs you when it doesn’t work.
Here’s a breakdown of typical DIY costs for a moderate water damage job, based on what Flushing homeowners can expect at local hardware stores and rental counters:
- Dehumidifier rental (7 days): $280 to $420
- Box fans (2): $60 to $80
- Shop vac rental or purchase: $80 to $150
- Primer, drywall patch, paint: $75 to $150
- Baseboard replacement and caulk: $90 to $180
- Total DIY cost, moderate job: $585 to $980
Professional restoration costs for the same scope of work typically run from $1,500 to $4,000, depending on the size of the affected area and the drying time required. If the job is covered by insurance, the homeowner’s out-of-pocket is the deductible, typically $500 to $2,500 depending on the policy.
Now here’s the number the upfront comparison doesn’t show:
When a DIY job fails and mold develops, or the subfloor rots, or the drywall needs to be removed and replaced, the remediation and rebuild cost typically runs $4,000 to $12,000 or more for the same area that could have been professionally dried for $1,500 to $4,000. And by that point, the insurance company may not cover the secondary damage because the initial repair was undocumented and incomplete.
The math is not “free vs expensive.” The math is “cheap now vs possibly very expensive later.”
One more cost consideration for Flushing homeowners: the $89 Seasonal Tune-Up that Floodline offers. Before the wet season or after a close call, a professional can check the places where water problems start, sump pumps, supply lines, washing machine hoses, water heater connections, and catch small issues before they become big ones. It’s the cheapest insurance available against a Flushing basement flood.
Common Mistakes to Avoid
- Pointing a fan at the problem and calling it done. A fan moves air across the surface. It does nothing for water trapped behind drywall, under flooring, or inside wall cavities. In Flushing’s humid summers, moving air without dehumidification can actually feed mold growth by circulating moist air across wet materials.
- Painting over a water stain. Primer doesn’t kill mold or dry out a wall cavity. It hides the stain for a few months until the underlying moisture problem announces itself through the new paint. If you’re painting over a water stain, you’re decorating, not restoring.
- Trusting a moisture meter from the hardware store. The inexpensive pin-type meters sold at big-box stores are useful for relative comparisons but are not calibrated for professional accuracy. A reading that says “dry” on a consumer meter can still hide enough moisture to feed mold.
- Waiting to see if it dries on its own. Mold begins colonizing wet materials within 24 to 48 hours. Every day of delay is a day of mold growth, and the problem gets more expensive the longer it sits.
- Not checking where the water came from. A homeowner repairs the visible damage but never fixes the leak that caused it. Six months later, the same spot is wet again. In Flushing’s older homes, the leak is often in a different location than the visible damage, and tracking it down requires professional expertise.
- Assuming insurance won’t cover it. Many Flushing homeowners skip the insurance call because they assume their policy doesn’t cover the damage. Coverage depends on cause of loss, not on the homeowner’s guess. The call is free, and the answer may surprise you.
- Handling sewage or contaminated water without protection. Sewage contains pathogens that cause serious illness. This is not a job for rubber gloves and a mop. Professional sewage cleanup in Flushing involves proper PPE, antimicrobial treatment, and safe disposal of contaminated materials.
When to Call a Professional
Call a professional restoration company when water has touched drywall, flooring, or wall cavities; when sewage or contaminated water is involved; when mold growth exceeds about 10 square feet; when you smell mold but can’t find it; when the water traveled from an upper floor to a lower one; or when you’ve already tried a DIY repair and the problem has returned. These are the situations where the equipment, training, and documentation that a professional crew brings will save you money, even after the professional bill. Floodline Restoration Co. offers free estimates in Flushing. Call (518) 872-6111 and a live person will answer, day or night.
Frequently Asked Questions
Floodline Restoration Co. runs live dispatch 24 hours a day, 7 days a week, so a real person answers the phone and a certified crew can be on the way immediately. In most Flushing situations, extraction is running the same visit, because every hour of delay gives moisture more time to wick into walls and flooring. Call (518) 872-6111 and you’ll speak to a dispatcher, not a recording.
Most sudden and accidental water damage, like a burst pipe or an appliance failure, is covered by standard homeowner’s insurance, minus your deductible. Coverage depends on the specific cause of loss, and Floodline documents every job with photos and a moisture log and bills the carrier directly, so you never play messenger with the adjuster. Call your carrier or ask us to coordinate with them before deciding whether to file a claim.
The answer depends on where the water went and how long it sat there. If the water stayed on a non-porous surface and you caught it immediately, cleaning it up yourself is reasonable. If it touched drywall, soaked into flooring, or sat for more than a few hours, professional drying is the difference between a repair that lasts and one that fails. When in doubt, call (518) 872-6111 for a free assessment.
We do. Floodline Restoration Co. handles direct insurance billing and coordinates with your adjuster throughout the job. We provide the moisture log, photo documentation, and written scope of work, and we agree on the plan with the carrier before work begins. You don’t play messenger, and there are no surprises on the bill.
The 90-Day Done Right Promise, what we call the Keystone Standard, means exactly what it sounds like: if the job isn’t done right, we make it right. It’s a written guarantee, not a verbal assurance. If a problem arises within 90 days of the job, there are no paperwork battles and no arguing. We stand behind the work because we built the company around the idea that a name you can hold accountable is worth more than a low bid.
Professional restoration uses calibrated moisture meters to take readings across the entire affected area, including inside wall cavities and under flooring, and continues daily readings until the numbers match the dry standard for your home. At the end of the job, you receive a moisture log showing the progression from wet to dry. This is documentation you can hand to your insurance carrier and keep for your records, and it’s the reason professional drying holds up where DIY repairs often fail.
The Bottom Line
The DIY vs professional decision comes down to one question: can you see the full extent of the damage, or are you guessing? Small, contained spills on non-porous surfaces are reasonable DIY territory. Anything involving drywall, flooring, wall cavities, sewage, or mold is professional territory, and in Flushing’s older homes and humid climate, the margin for error is thinner than most homeowners realize. Professional restoration costs more upfront, but when insurance coverage and the cost of failed DIY repairs are factored in, the professional route is usually the cheaper one over time. The line the water left is where the conversation starts, not where it ends.
Written by Curt Bowman, Owner at Floodline Restoration Co., serving Flushing since 2010.